Guava Melon Lassi
Look, it’s starting to get real hot and we all need a cool drink once in a while. Here’s your cool drink for this summer: the guava melon lassi. It’s fruity, not too sweet, and perfect if you want to try something new. I tried …
Butter makes it better
Look, it’s starting to get real hot and we all need a cool drink once in a while. Here’s your cool drink for this summer: the guava melon lassi. It’s fruity, not too sweet, and perfect if you want to try something new. I tried …

Scones always sounded a bit intimidating to me. But surprise surprise, they’re so easy! They don’t even have to rise, and scones can be made in so many different flavor combinations. I have some fresh mint I’ve been dying to use, so I decided to …
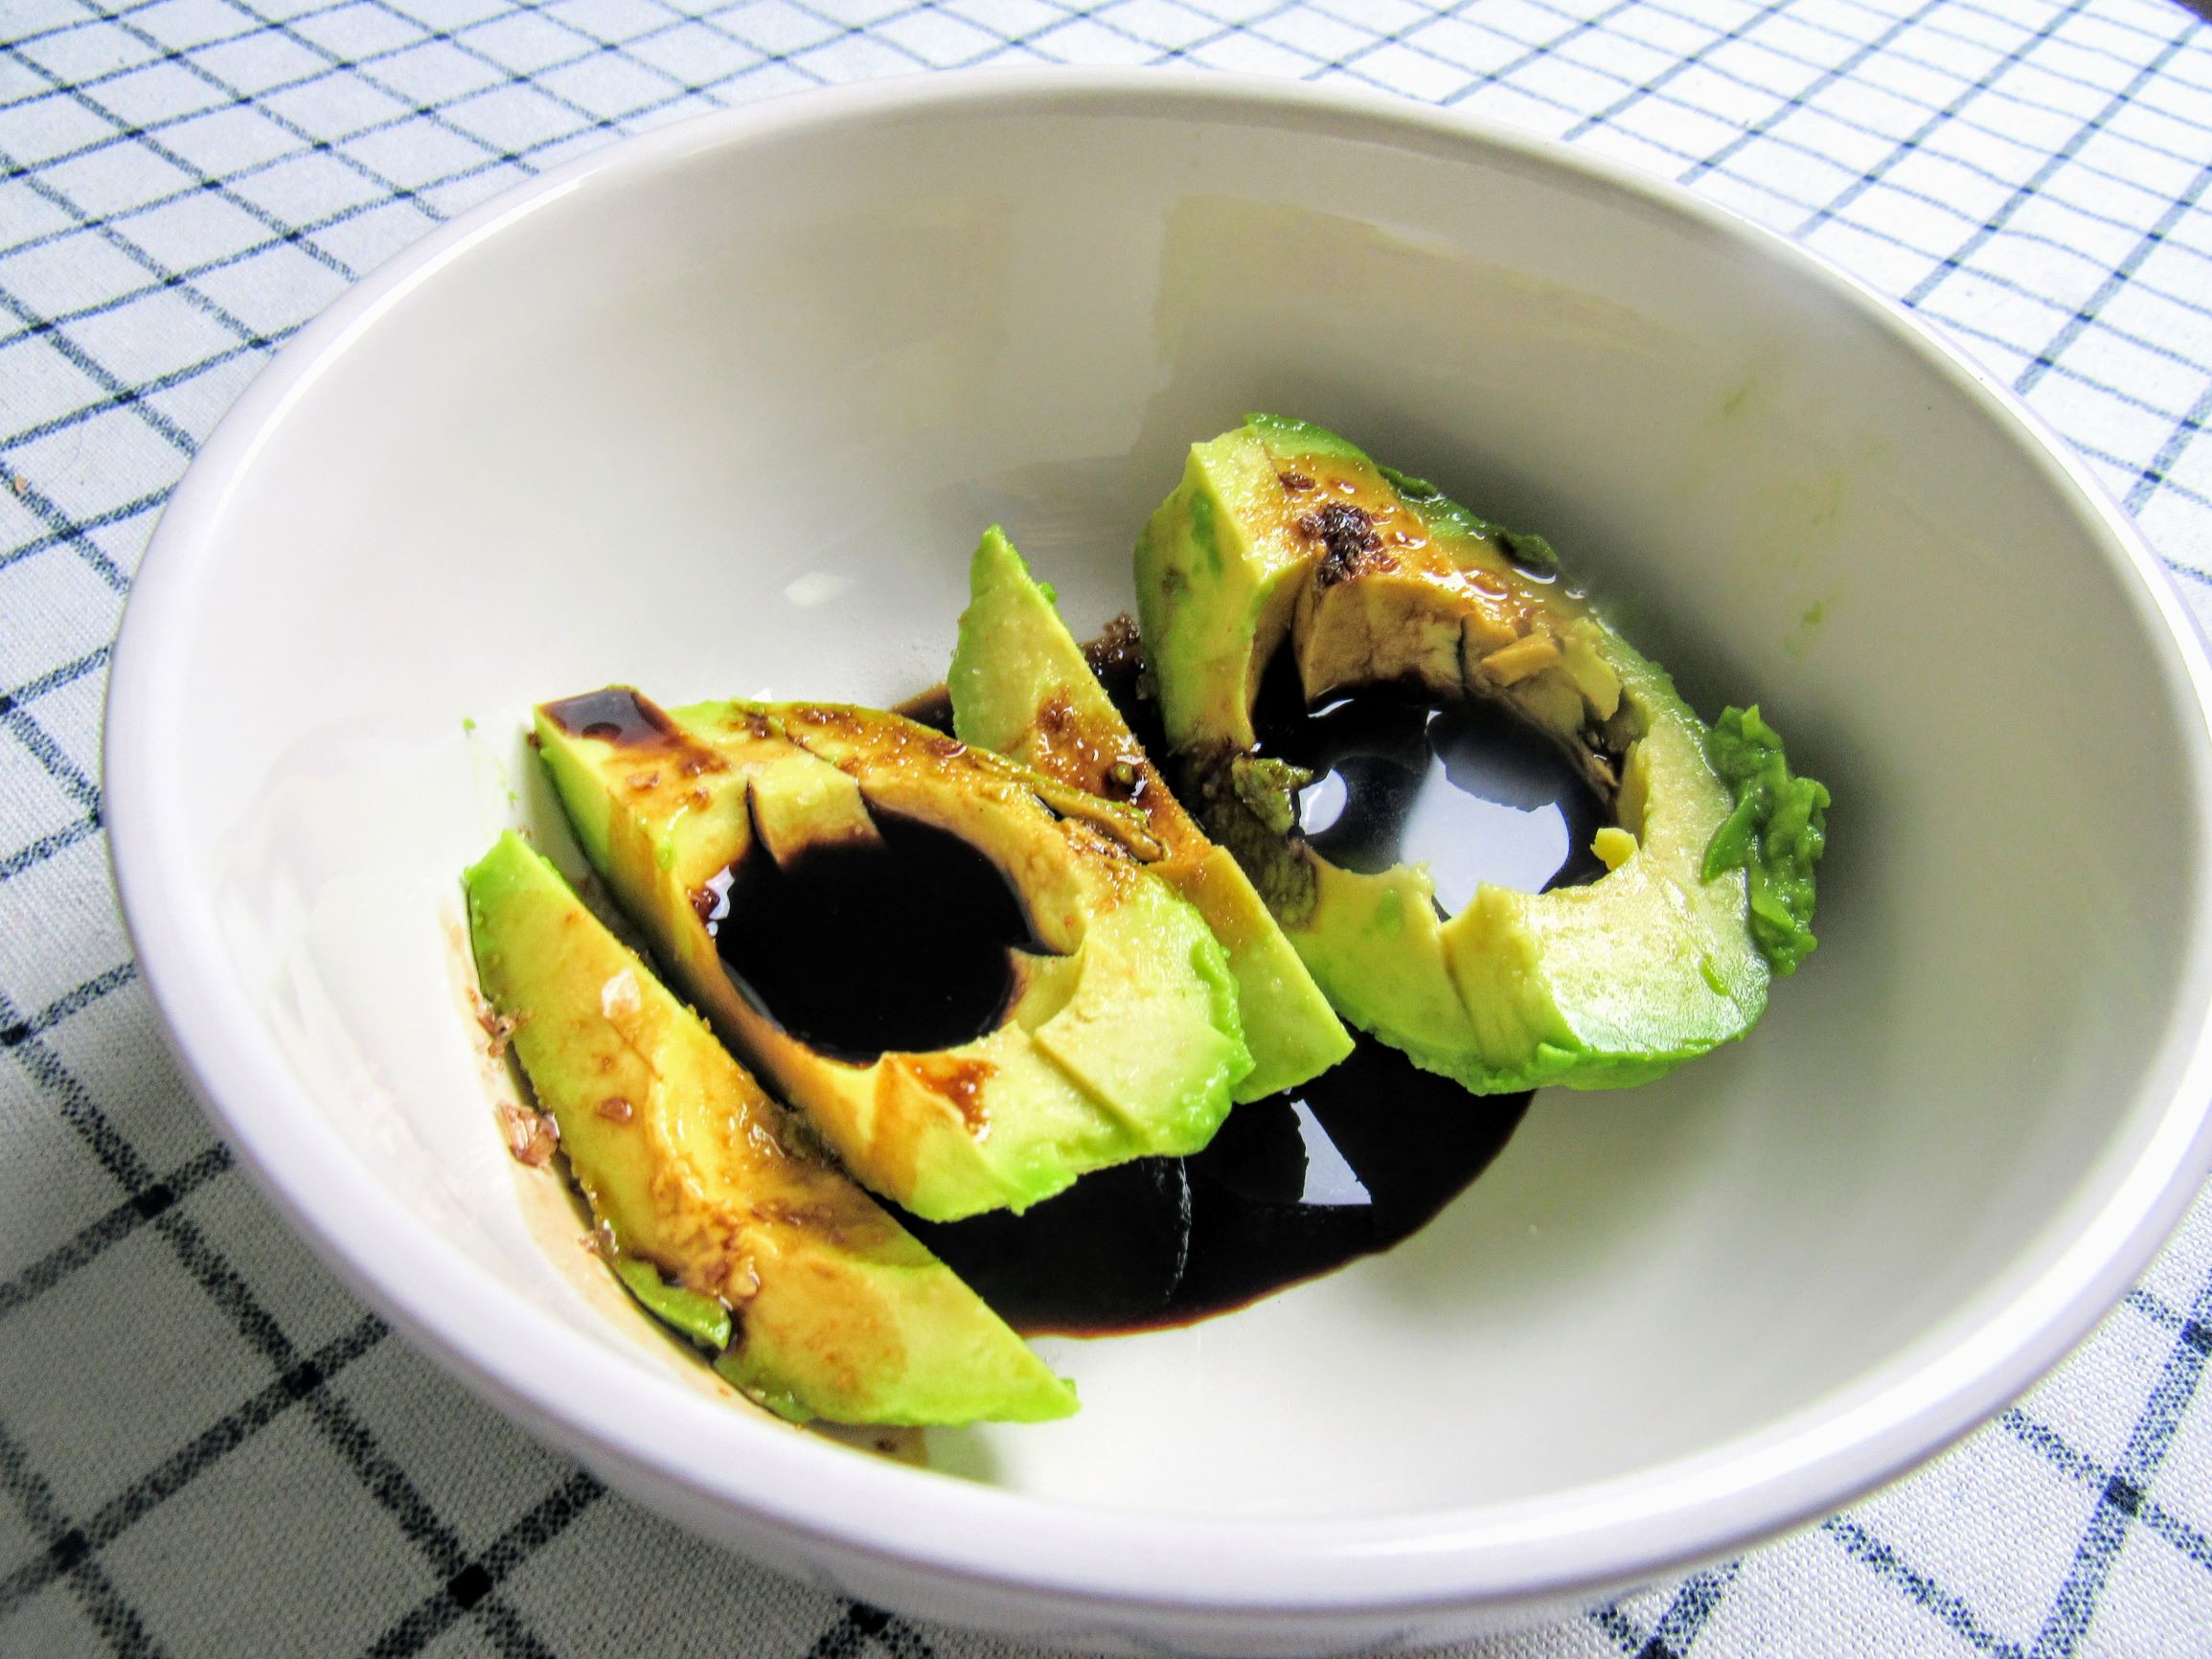
I love vinegar so much. Balsamic vinegar, red wine vinegar, white wine vinegar. . . . Each of them are so good. I even almost named this blog after vinegar. Vinegar is amazing, but somehow this balsamic reduction is even better.
Reducing vinegar takes what is already good about the vinegar and amplifies it. Reduction takes all the sharp edges and smooths them away, leaving with you with honey’s dark and acidic cousin. The more you reduce the vinegar, the sweeter and thicker it gets. And luckily, reducing it only takes about fifteen minutes!
In making this easy balsamic vinegar reduction, you can also really enhance the taste of a less expensive vinegar. I wouldn’t buy the very cheapest balsamic, but pretty much anything above that will be improved by reducing it to a glaze. You can also add honey, other sweeteners, or fresh or dried herbs to infuse your reduction with a different flavor of your choice.
Now, what should you do with balsamic reduction once you’ve made it? The possibilities are endless! Use it as a salad dressing (my personal favorite), drizzle it over garden-fresh tomatoes, whip up a Caprese salad, or even dip strawberries and blackberries into it. It would be a great substitute for the balsamic dressing on a Harvest Chicken Salad, or for the honey lemon dressing on this Roasted Beet Salad. Either way, you’re bound to have fun with this balsamic reduction.
Bring your vinegar to a boil in a medium saucepan. Allow it to boil for a few seconds before reducing the heat to medium. Let the vinegar simmer for 15-20 minutes until it begins reducing.
Allow it to reduce by half (or more, if you prefer a thicker glaze) and then set it aside to cool. Add the honey and/or rosemary at this point if desired. This reduction should keep in the fridge for about two weeks. Enjoy!

Y’all, buttermilk fried chicken is the BOMB. Crispy golden skin and moist insides are nothing to say no to. The colonel is right; fried chicken is finger-lickin’ good. Especially buttermilk fried chicken. But what’s the difference? Buttermilk fried chicken is soaked in buttermilk prior to …

Crispy, crunchy, salty steak fries. Yum. And the best part is, you can have homemade steak fries made from pantry staples in under an hour. What a wonderfully dangerous thing. (Especially with some Watermelon Agua Fresca on the side. It’s the perfect snack! So what …
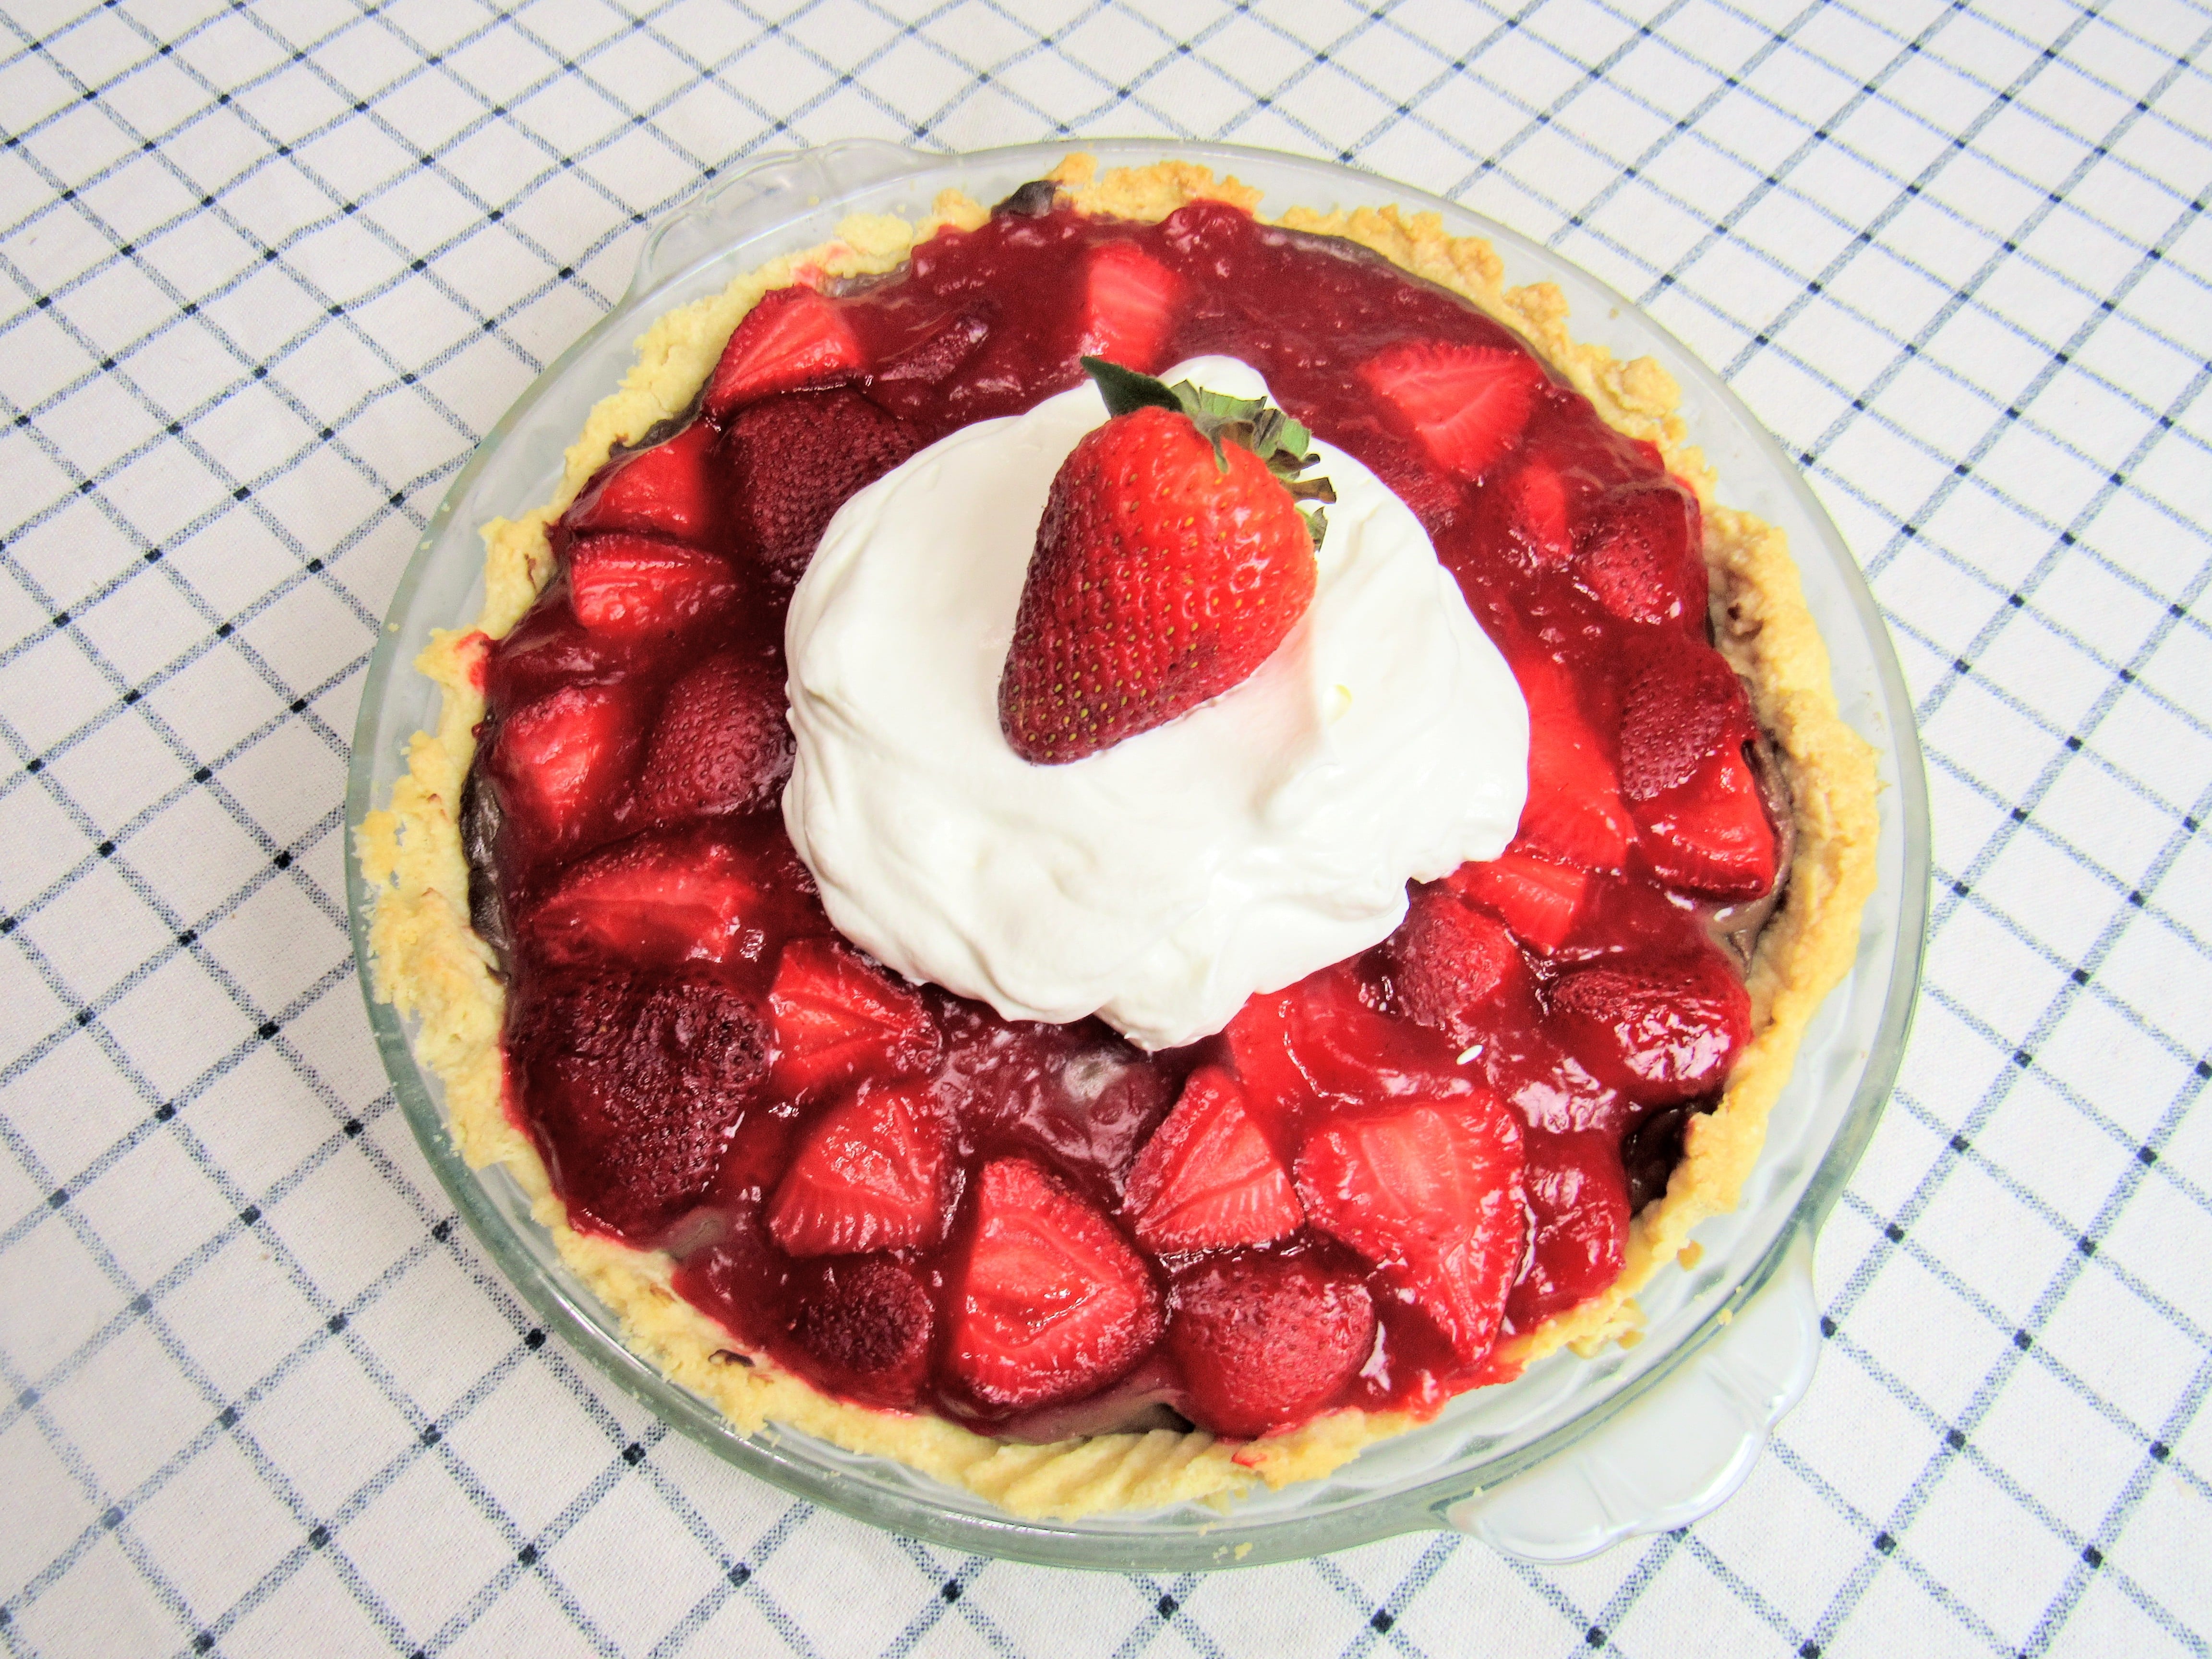
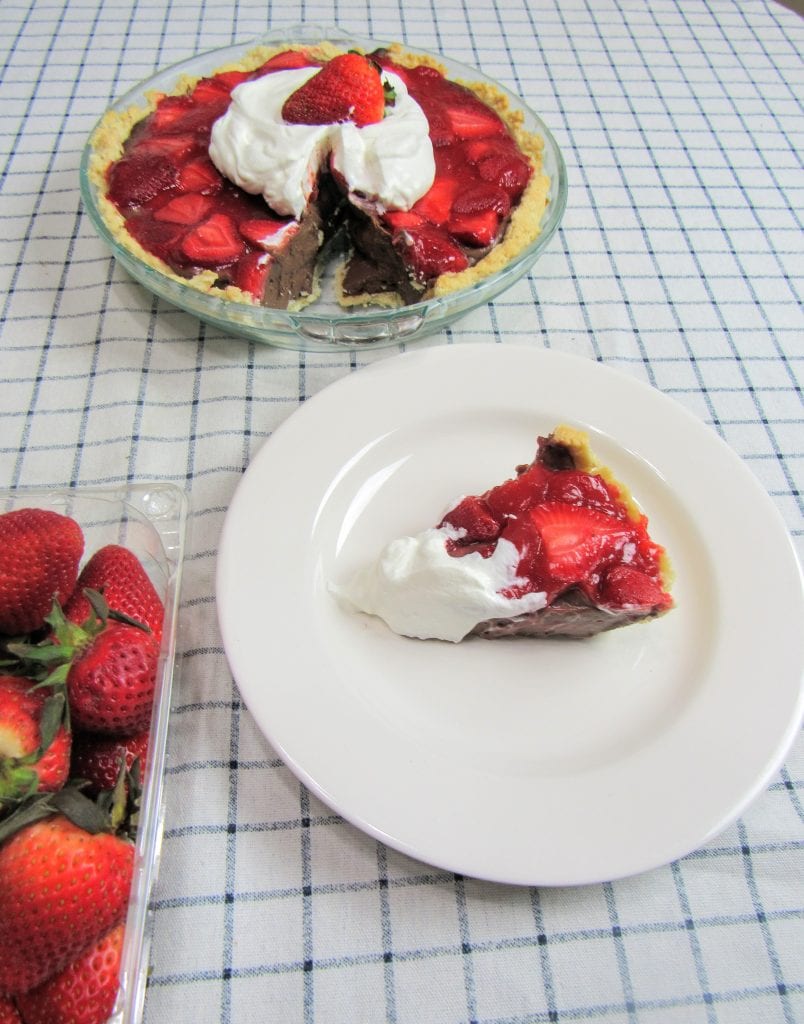
Yay, it’s strawberry season! I can’t help but buy boxes and boxes of strawberries when they’re so cheap, and I always need some way to use them up. This strawberry chocolate pie is the perfect dessert to do so.
This pie is made up of flaky pie crust, smooth chocolate pastry cream, and bright pops of fresh strawberries. It’s the perfect summer dessert, both fresh and satisfying. I think you’ll love it.
If you’d like to learn more about pie crust, I highly recommend checking out my earlier post. Note that I did halve the ingredients for pie crust below, because this strawberry chocolate pie is only a single-crust pie.
Now, I know that the recipe below might look a bit intimidating, but don’t panic. This pie would be a great Saturday project, or it would be very convenient to do over two days. Each of the components take a bit of work, but it all goes very quickly and assembly is foolproof. Bon courage and bon appetit!
For the pie crust:
For the chocolate pastry cream:
For the strawberry topping:
Let’s start by making the chocolate pastry cream. It’s not a hard process; the pastry cream just needs to chill for a few hours. Heat the milk and vanilla in a saucepan over medium heat and bring to boil. While the milk is heating, whisk together the sugar, egg and yolks, cornstarch, cocoa powder, and salt until smooth. Set aside until the milk comes to a boil.
Remove the milk from the heat once it starts to boil. Slowly drizzle about half of the hot milk into the egg mix, whisking all the while. When the mixture is shiny and the eggs have been tempered (aka, they’ve cooked and they haven’t curdled), return the egg mix back to the hot milk in the saucepan.
Heat this mixture while whisking vigorously until it starts to thicken (2-5 minutes). Once the custard has thickened, let it begin to boil. Lower the heat to low and immediately add the chocolate. Continue whisking until the chocolate has completely melted.
Remove the custard from the heat and add the butter. Whisk until fully combined.
Yay, you’re done with the pastry cream! Simply pour it into a bowl and immediately cover the entire surface with plastic wrap. Allow to cool to room temperature, and then chill in the fridge for 2-3 hours.
Next, let’s make the pie crust. Combine your flour, sugar, and salt in a large mixing bowl. Add the butter and shortening. Gently rub all ingredients together by hand until each piece of fat is covered in flour.
Add the water and vodka, mixing dough until just combined. Divine your dough in two, roll each hunk of dough into a ball, and flatten. Cover each disc of dough in plastic wrap, and refrigerate for one hour.
When your dough is done chilling, preheat the oven to 350 F and place the pie crust on a lightly floured surface. Roll into a 12-inch circle, and place gently in your 9-inch pie pan. Press your dough into the pie pan, and vent the bottom with a fork. Fold the excess dough under. Place a pie weight (or some dried beans) into the crust, and bake your crust at 350 F for 10-12 minutes or until golden brown. Set the crust aside and allow to cool while you make the strawberry pie filling.
To make the filling, combine your strawberries, sugar, and lemon juice in a saucepan over medium heat. Whisk the water and cornstarch together until the cornstarch has dissolved, and add this mix to your strawberry mixture. Bring to a boil. Reduce the heat to a simmer, and allow to cook until thickened slightly. Set aside to cool.
Time for assembly! Fill your pie crust with the chocolate pastry cream, and cover with the strawberry filling. Garnish your strawberry chocolate pie with whipped cream if desired (recipe here). Enjoy!

So what is ragu? When I’m talking about ragu, I don’t mean the pasta sauce brand. I mean the real thing; a rich sauce from Italy, full of meat and vegetables that have been cooked down into pure fat and flavor. When you taste this …
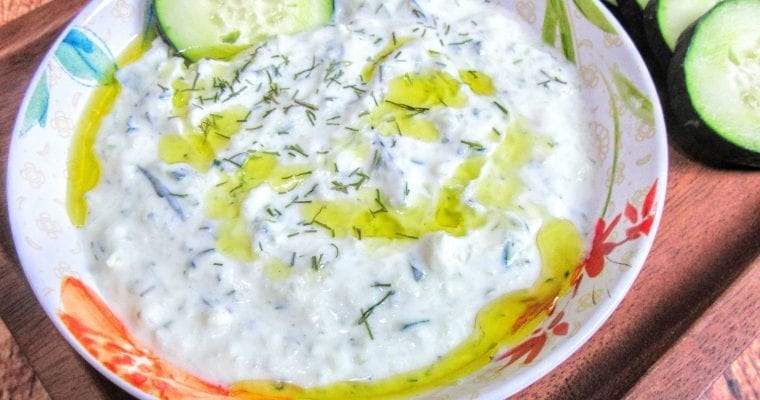
Have you ever had a gyro? If so, you’ve probably tried tzatziki sauce. This sauce (pronounced with a silent first t) is a gorgeously fresh combination of yogurt, cucumbers, and dill. It’s creamy and cool, but with a little zip from the lemon juice and …
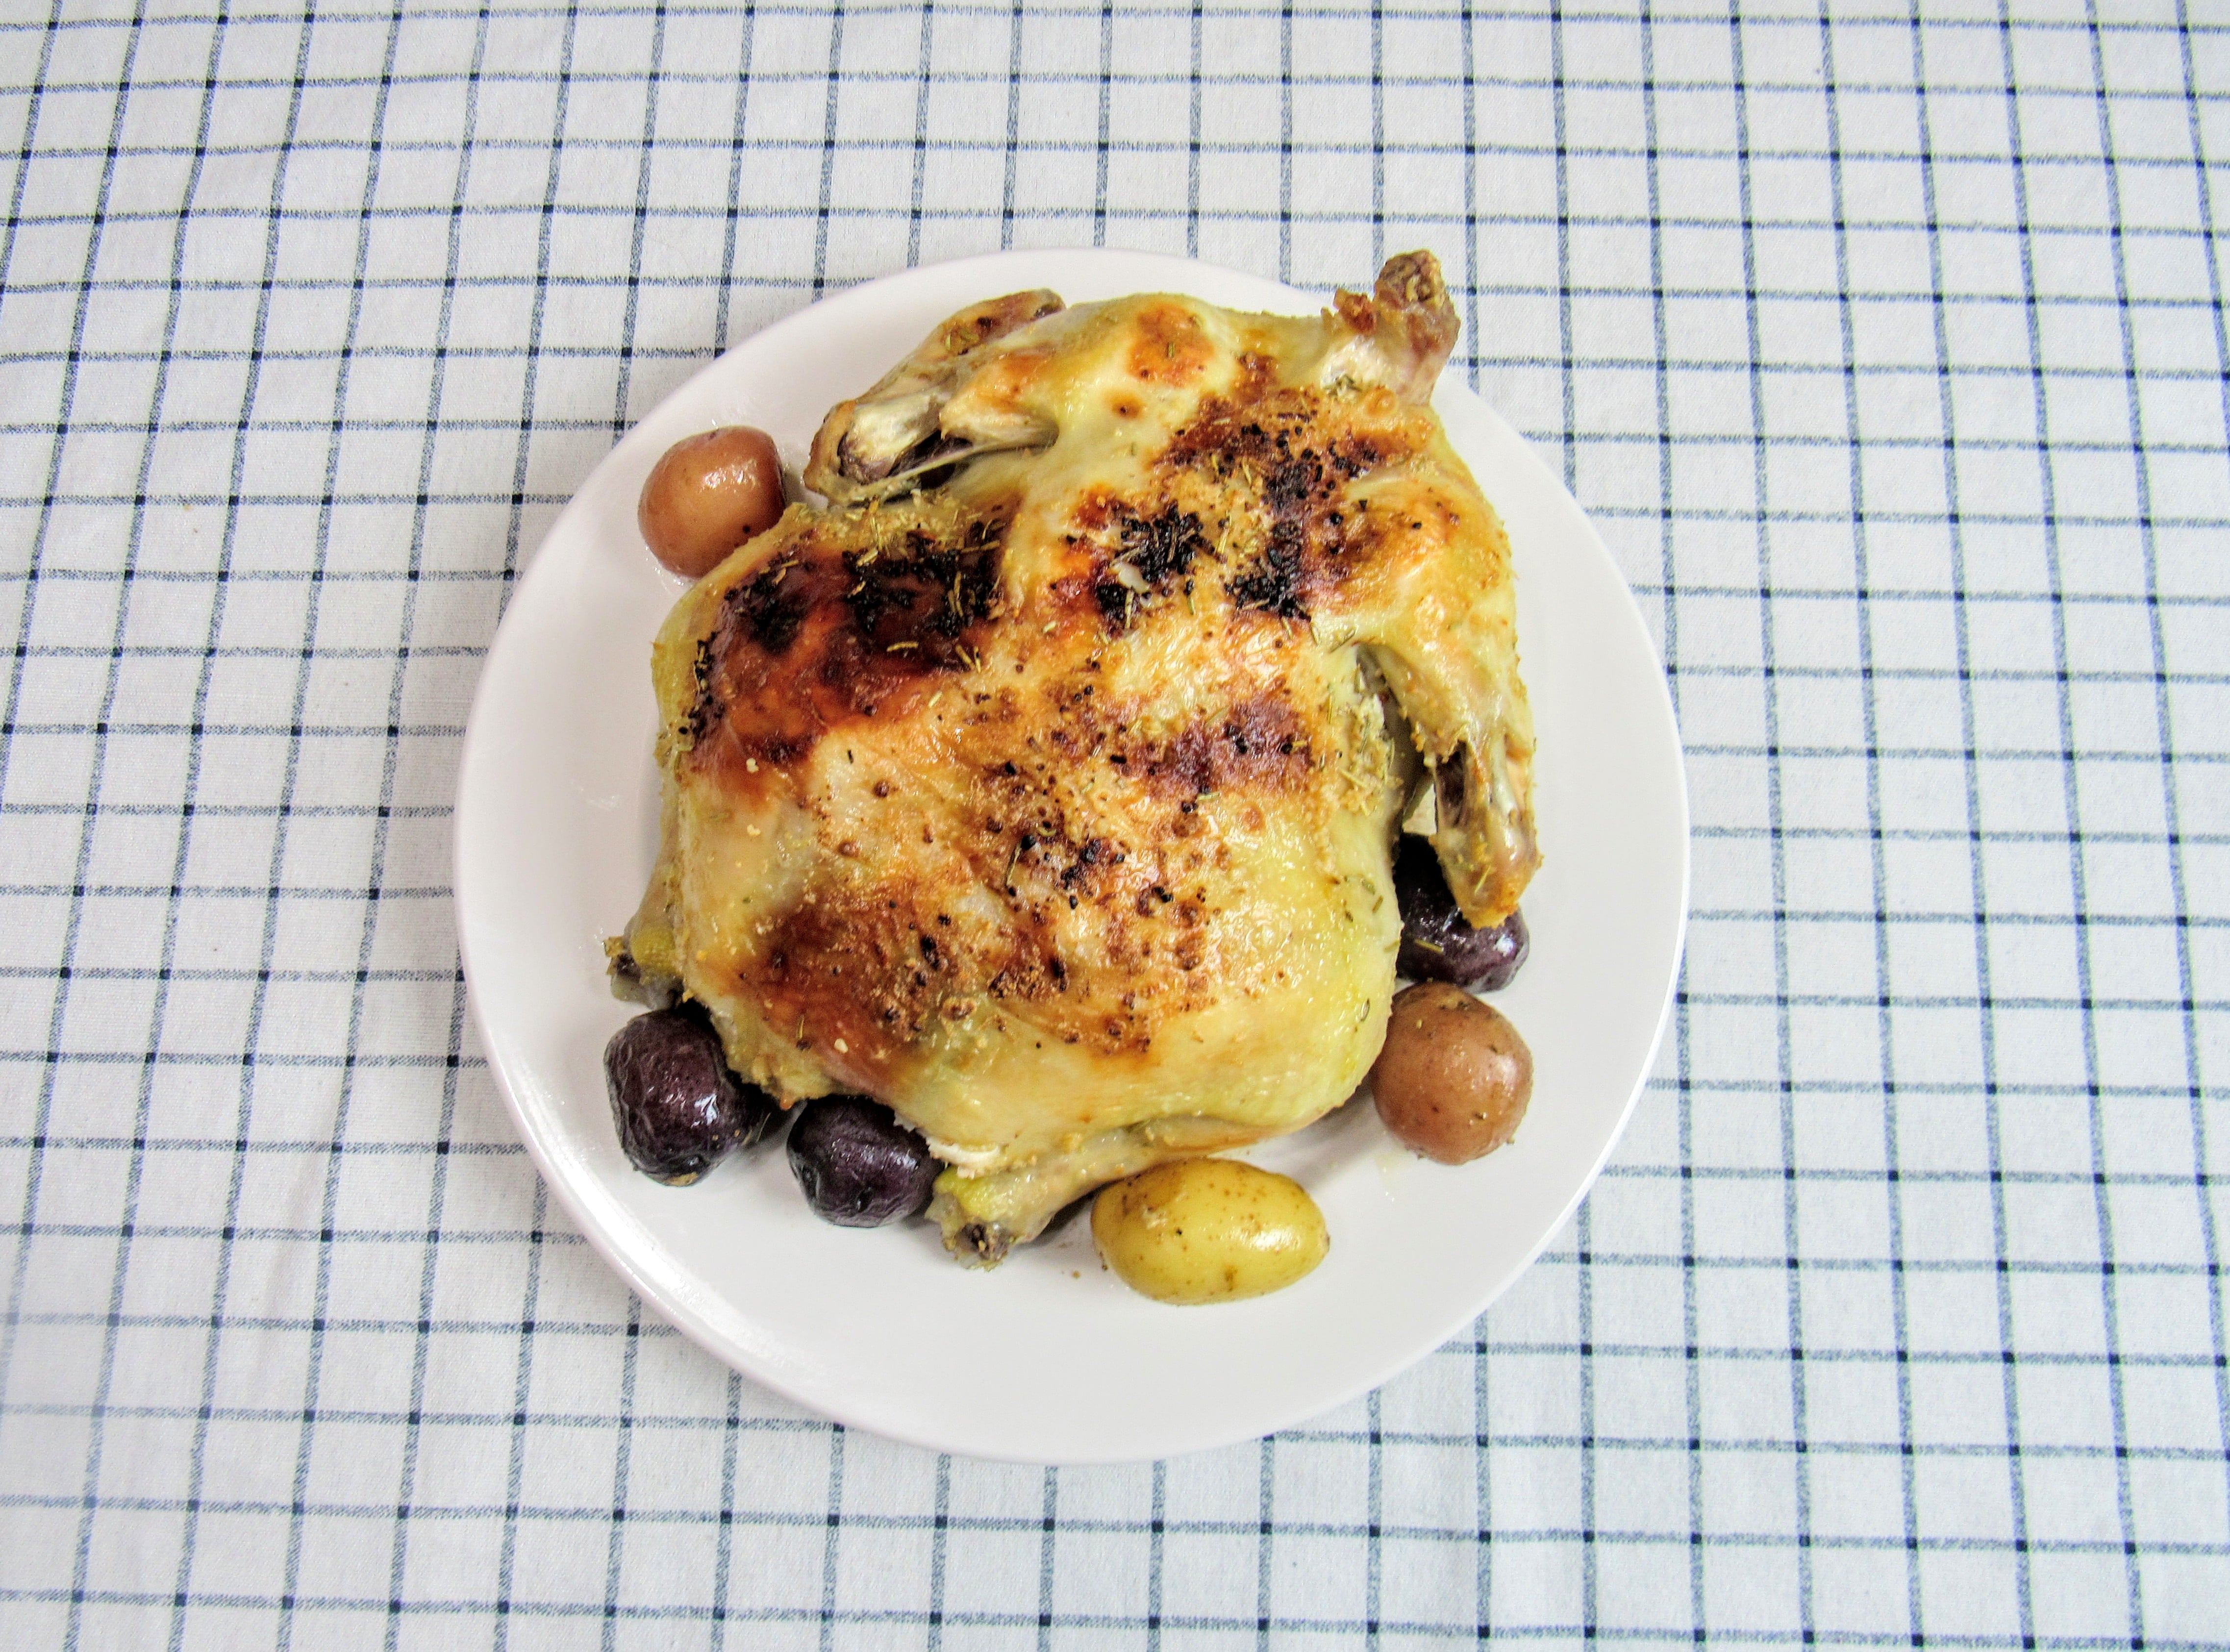
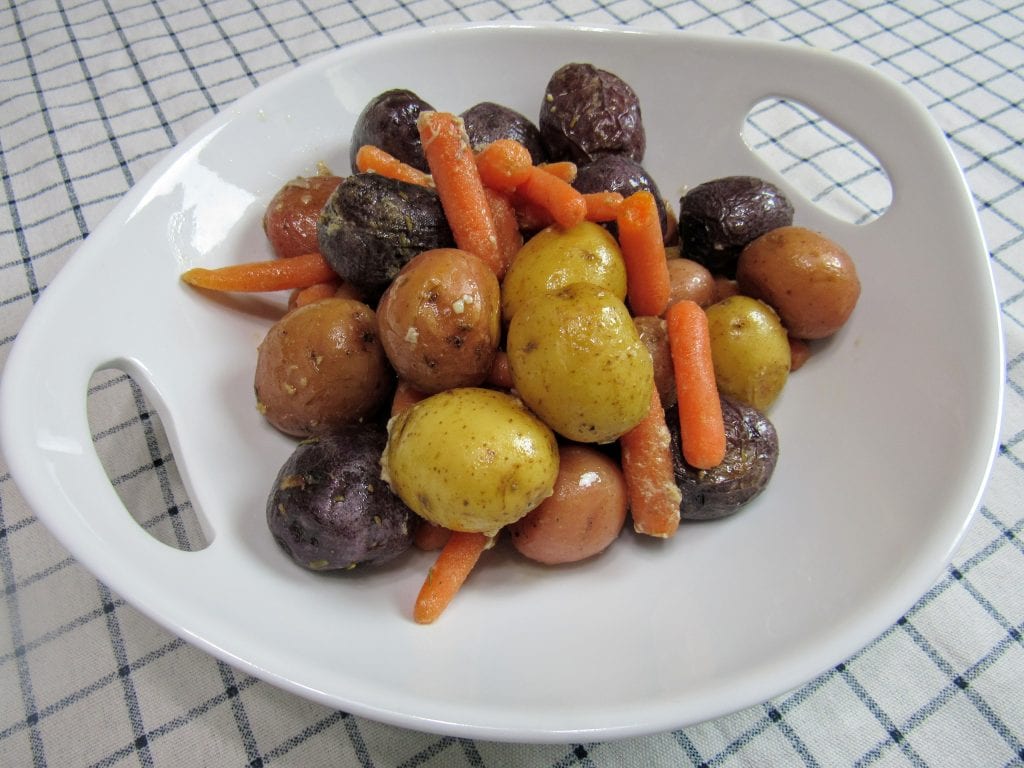
Roasting a chicken can be intimidating, but I believe it’s an important cooking skill to have. It’s perfect for a long weekend, or for a dinner party, and it makes great leftovers. And this roast chicken with garlicky potatoes is a great place to start!
This roast chicken recipe produces a perfectly golden chicken, with incredibly moist and tender flesh. The potatoes and carrots are soft and garlicky, with a gentle rosemary flavor. I hope you love it. Enjoy!
Start by brining your chicken in a large salt water bath for at least 20 minutes. Preheat your oven to 425 F and lightly grease your Dutch oven.
Combine your garlic powder, rosemary, thyme, and paprika in a large bowl. Add your olive oil, carrots, and potatoes, and toss to coat. Arrange them in the bottom of the Dutch oven and set aside.
Remove your chicken from the brine and pat with a paper towel to dry. Liberally salt and pepper the cavity before stuffing the lemon rounds inside. Mix the softened butter with the rosemary and garlic, and rub it all over the chicken. Place the chicken in the Dutch oven on top of the potatoes and carrots.
Bake at 425 F with the Dutch oven lid on for 1 1/2 hours or until the inner temperature is over 165 F. (Check in at least three places.) Remove from the oven and allow to rest for 20 minutes before slicing into your roast chicken. Serve warm. Enjoy!